Excel is a tool for organizing and analyzing data that is very versatile. Although it’s frequently related to math and numbers, Excel is also essential for managing text data. The issue comes when we need a specific option for changing text case in Excel.
Now, you are thinking about how to change cases in Excel with a lot of data. In this article, we’ll walk you through various methods to change cases in Excel effectively. You will be able to learn how to change text case into uppercase, and lowercase, and capitalize the first word in Excel.
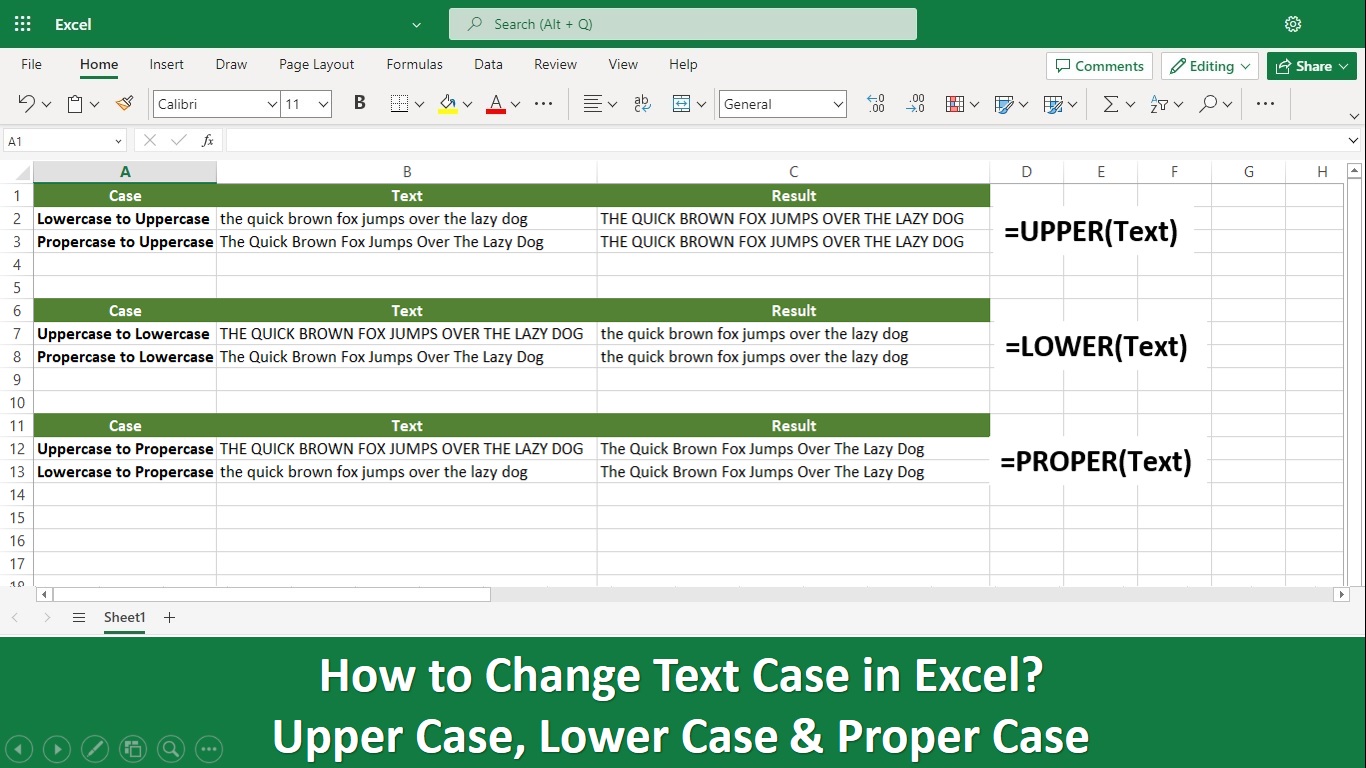
How to Change the Case of the Text in Excel?
Microsoft Excel does not feature a Change Case button for changing capitalization, unlike Microsoft Word. However, using the UPPER, LOWER, or PROPER functions, you can automatically change the case of already-existing text to uppercase, lowercase, or proper case.
Functions are merely built-in formulas designed to carry out particular tasks, in this case, changing the case of text.
All function operates on the same principles. So, let’s see all the cases of text.
Change Upper Case Text in Excel:
The first case we are going to discuss is how to change lowercase to uppercase in Excel.
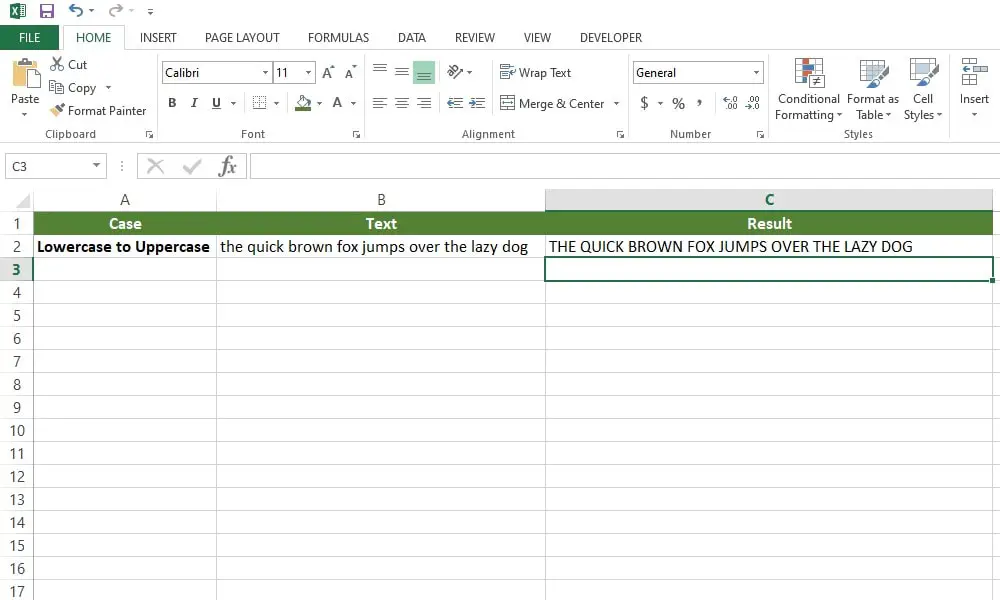
- Let’s say we have data in the following format. In column A we have a scenario on which we will be working and in column B we will add the sample text. We added a column next to the column name “Text” in which we will add a formula to change the text case.

- Enter the equal sign (=)and function name (UPPER) in the adjacent cell of the new column.
- After the function name, enter the required cell reference in brackets (B2).
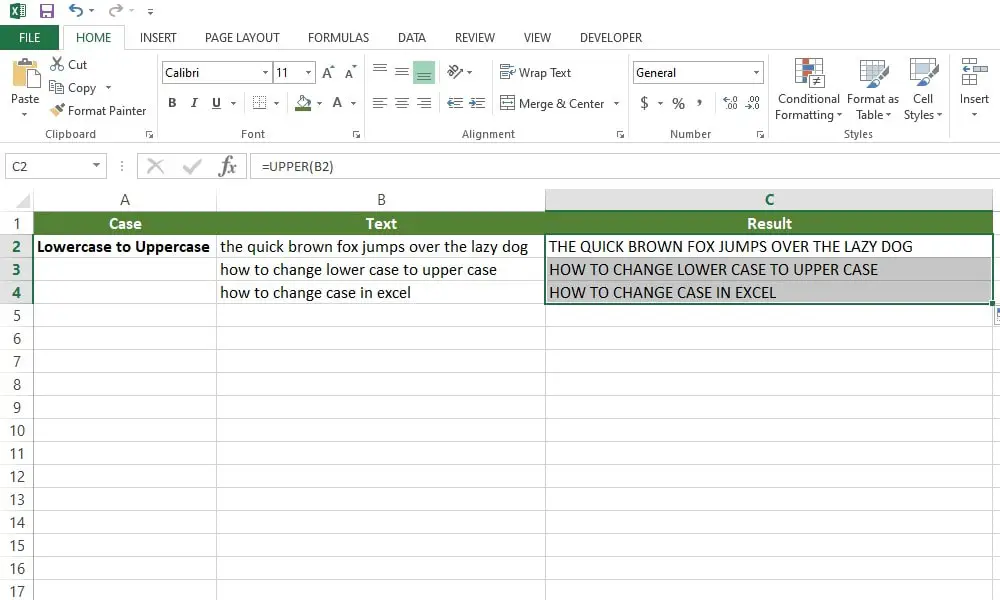
- Your formula should be as follows: =UPPER(B2), where B2 denotes the original column cell containing the text to be converted.
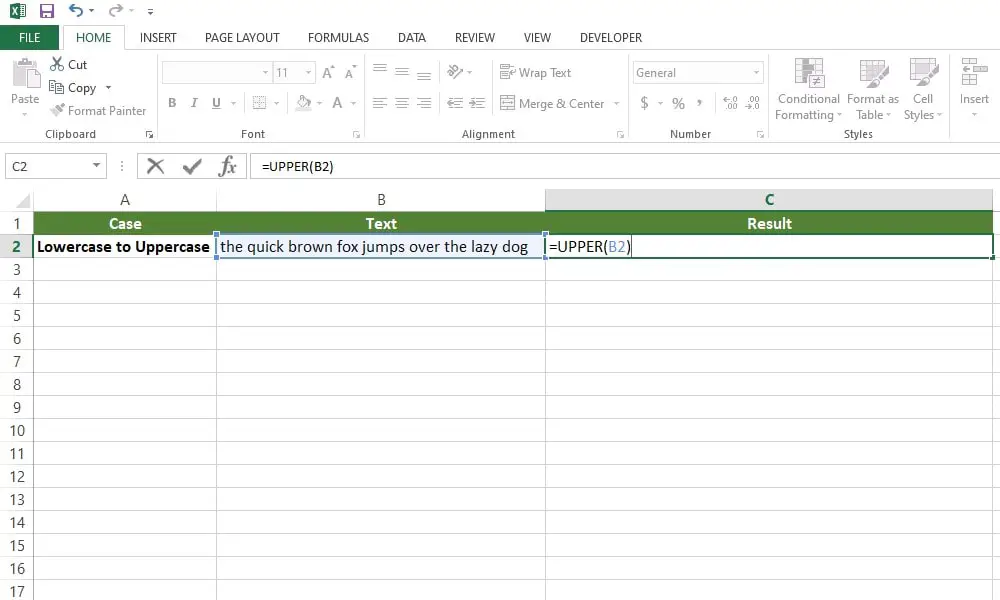
- Click “ENTER”. You will see the result in upper case as shown in the image below.
- The formula must now be copied to other cells in the helper column.
- Choose the cell containing the formula.
- When a little cross appears, move your mouse cursor to the small square (fill handle) in the selected cell’s lower right corner.
- While holding the mouse button, shift the formula over the cells you want it to apply to.
- Release the mouse button.
Change Lower Case Text in Excel:
The first case that we are going to discuss is how to change uppercase to lowercase in Excel.
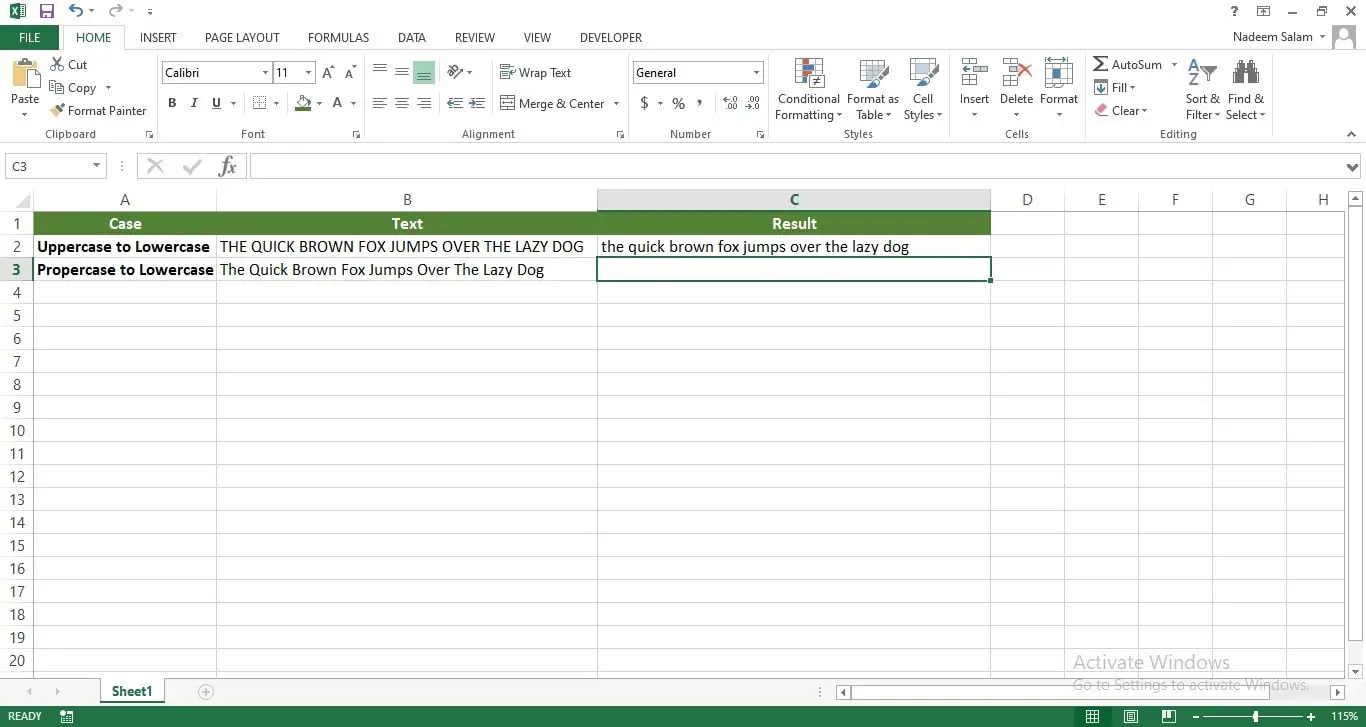
- Let’s say we have data in the following format. In column A, we have a scenario on which we will be working; in column B, we will add the sample text. We added a column next to the column name “Text” in which we will add a formula to change the text case.

- Enter the equal sign (=) and function name (LOWER) in the adjacent cell of the new column.
- After the function name, enter the required cell reference in brackets (B2).
- Your formula should be as follows: =LOWER(B2), where B2 denotes the original column cell containing the text to be converted.

- Click “ENTER”. You will see the result in lowercase as shown in the image below.
- Now, you can repeat the same process as in the Upper case to convert the First letter capital into lowercase. Choose the cell containing the formula.
- When a little cross appears, move your mouse cursor to the small square (fill handle) in the selected cell’s lower right corner.
- Continue holding the mouse button while dragging the formula over the cells you want it to affect.
- Release the mouse button.

Change Proper Case Text in Excel:
In the Proper case, we going to discuss is how to capitalize the first letter in Excel.
- Let’s say we have data in the following format. In column A, we have a scenario on which we will be working; in column B, we will add the sample text. We added a column next to the column “Text” in which we will add a formula to change the text case.

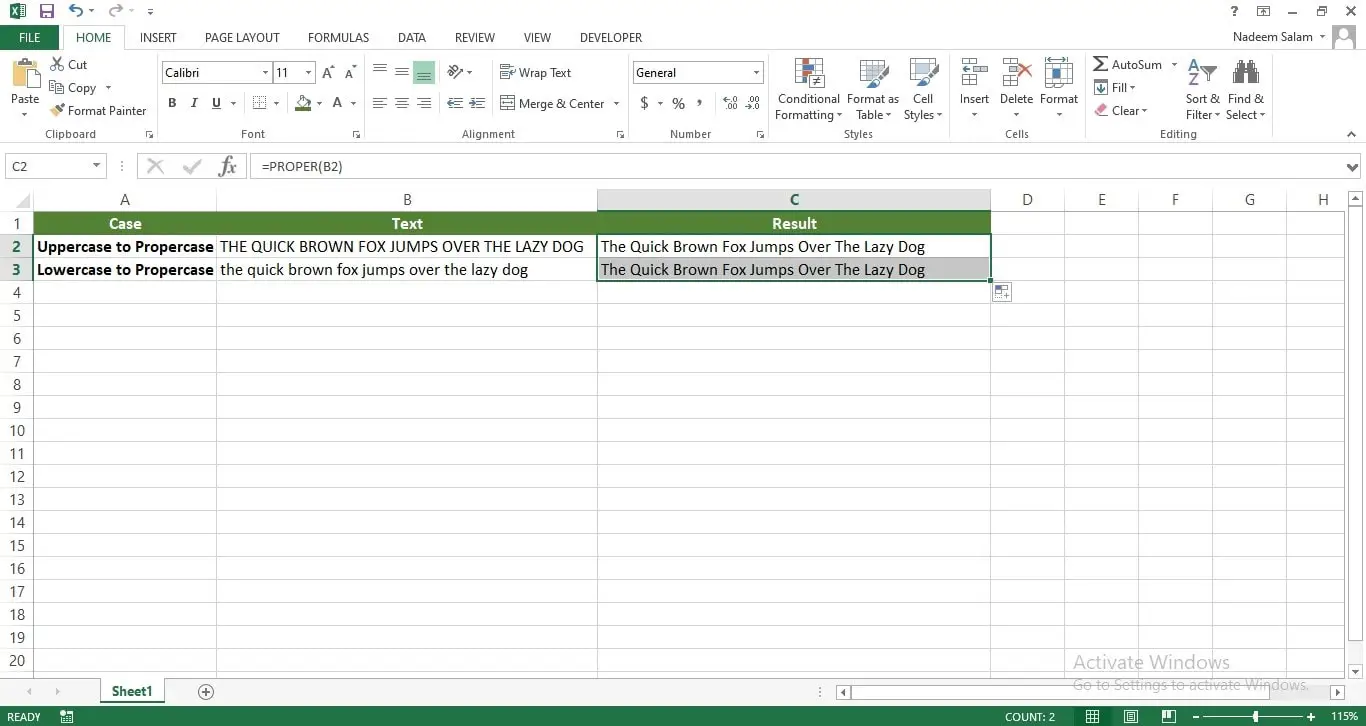
- Enter the equal sign (=) and function name (PROPER) in the adjacent cell of the new column.
- After the function name, enter the required cell reference in brackets (B2).
- Your formula should be as follows: =PROPER(B2), where B2 denotes the original column cell containing the text to be converted.

- Click “ENTER”. You will see the result in “First Letter Capital” as shown in the image below.

- Now, you can repeat the same process in Upper and lower cases. Choose the cell containing the formula.
- When a little cross appears, move your mouse cursor to the small square (fill handle) in the selected cell’s lower right corner.
- Continue holding the mouse button while dragging the formula over the cells you want to change the case.
- Release the mouse button.
Change Case Using Add-Ins and Macros in Excel
Excel developers have created many macros and add-ins that automate case changes. Look at below :
- A strong Excel add-in that offers a variety of operations, such as case modifications, is called ASAP Utilities. Install it and look through its capabilities to improve text editing. You can use it for change cases.
- Consider using VBA to create custom macros when doing specialized case change activities. Your Excel workbooks’ repetitive case changes can be automated using macros.
How to Change Case Using Text-to-Columns?
Here are the steps to change the case with text to column:
- Click on the cell that contains the complete names data.
- Find the “Data” tab in the Excel ribbon.

- The “Text-to-Columns” button can be in the “Data Tools” group. Click it.
- A Text-to-Columns Wizard will appear. This wizard will guide you through the process of splitting the text.
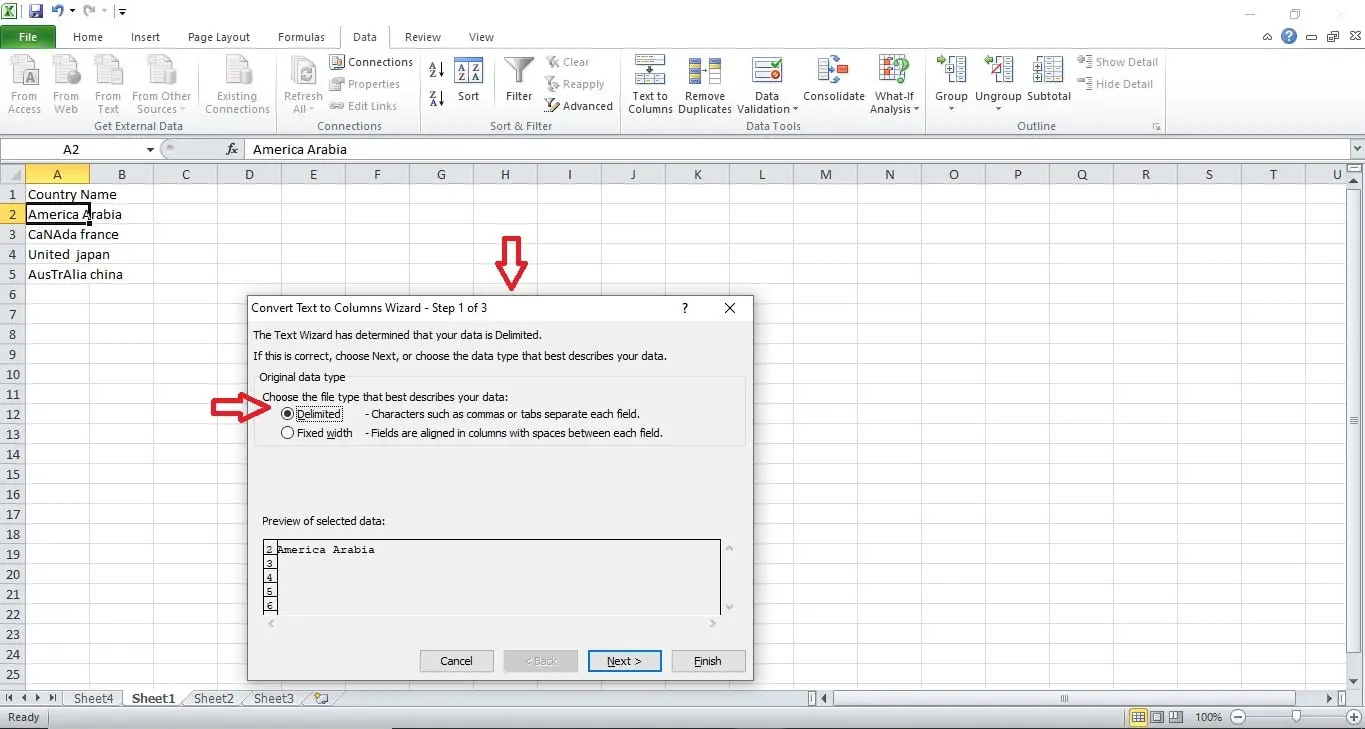
- You’ll likely want to split the text based on a delimiter. Since spaces separate full names, choose the “Delimited” option in the wizard and click “Next.”
- Check the “Space” checkbox because spaces separate the first and last names. Click “Next” when you’re ready.
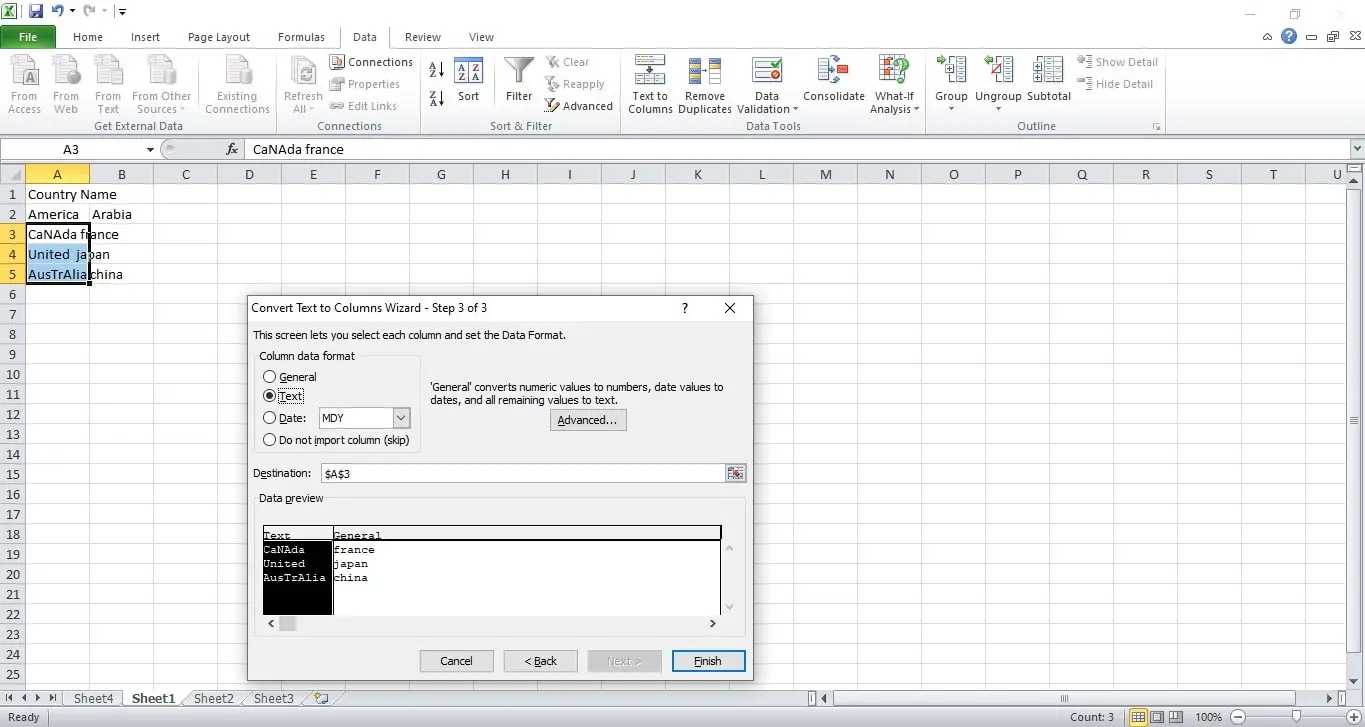
- To convert the first names to uppercase, select the column containing the first names, and under “Column data format,” choose “Text.” Then, click “Finish.”
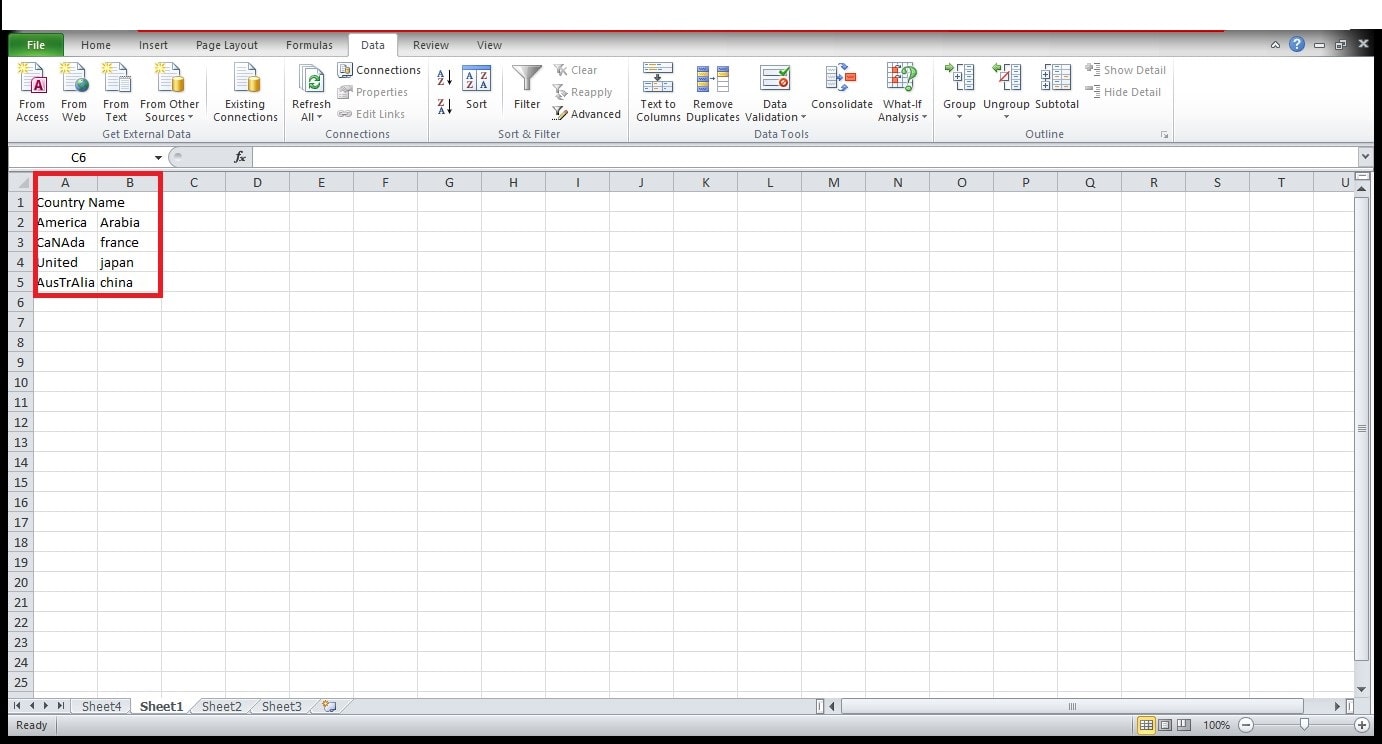
- After clicking “Finish,” Excel will split the names into two separate columns: one for first names and one for last names. Your data will look like the one below.
Conclusion
It is essential for anyone working with text data to master case changes in Excel. Excel offers many tools and techniques to convert names, addresses, and text efficiently and accurately.
Follow the tips and methods outlined in this article to boost your Excel productivity and ensure well-formatted text in your spreadsheets. Now, you can change the case in Excel through quick steps.
If you want to learn how you can change a case in Google Sheets, you can learn it from our guide: How to Change Text Case in Google Sheets?
With over two decades of experience in writing about Microsoft Excel, Google Sheets, and various other spreadsheet tools, Muhammad Nadeem Salam is your go-to expert for all things data. Since 2004, he has been passionately sharing his knowledge and insights through engaging and informative blog posts, helping countless readers unlock the full potential of their spreadsheet tools.